AdSense tags will often be implemented directly into a site’s HTML code, for example by pasting them into a site template or theme. While this works perfectly fine, it does limit the ability of the website owner to include other campaigns from time to time. For example, if a paying advertiser wants to run their ads on the site for a few days or weeks, it would involve removing the AdSense tags and implementing the advertiser’s tags, and to revert to the situation at the end of the paid campaign. Using Revive Adserver will provide flexibility and control.

Benefits of using an ad server like Revive Adserver to display your Google AdSense tags
By serving your Google AdSense ad tags through Revive Adserver, you will get far greater control over your online advertising, which means you can try different techniques to increase your ad revenue, for example:- Ad rotation so you can easily try many ad networks at once.
- Click-tracking reports so you can see how well your AdSense creatives are performing compared with other ad networks.
- Targeting options so you can decide who sees which ads, for instance showing one network to US visitors and a different network for European visitors.
- Campaign priorities so you can give preference to valuable ad campaigns when they are available.
- Campaign performance goals so when you get your first direct advertising deal you can be confident of delivering it to schedule.
Create a new Advertiser named ‘Google’
- Navigate to the Inventory tab in Revive Adserver.
- Click Create new advertiser to add a new advertiser.
- Enter the relevant details for the new advertiser, like in this example:
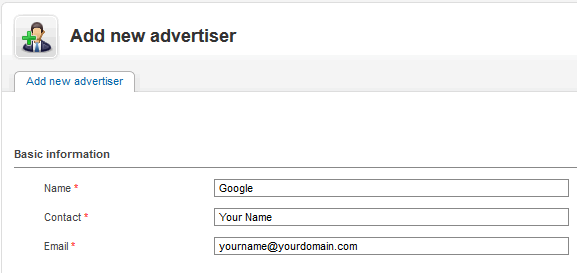
- Save the new advertiser by clicking the Save Changes button.
For this advertiser, create a new campaign named ‘Google AdSense’
- On the Campaign Overview tab of the advertiser, click Add new campaign.
- Enter the relevant details for the new campaign, like in this example:
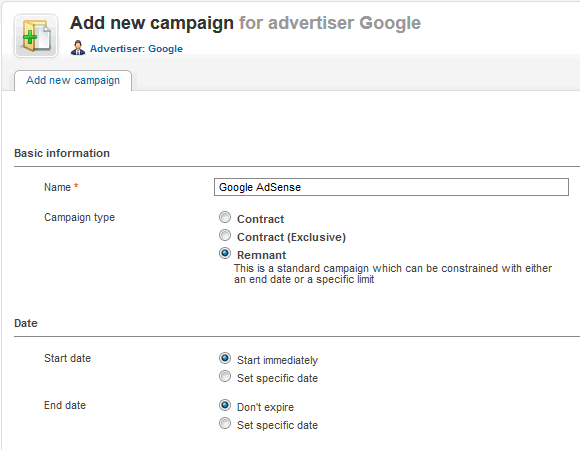
- Save the new campaign by clicking the Save Changes button.
For this campaign, add one or more banners
- In the Banner overview of the new campaign, select Add new banner.
- Then select Generic HTML banner from the banner type drop-down. The layout of the screen will change to reflect the selected banner type.
- Name the new banner accurately, so that you can more easily recognize it later. Consider using a name like “Google AdSense – 160×600″ or “Google AdSense – Wide Skyscraper” (or equivalent names for other dimensions).
- Paste the ad tag you copied from the Google AdSense account into the text field.
- To ensure that clicks are tracked, make sure you have selected ‘Rich Media – Google AdSense’ from adjacent drop-down just below the banner code box.
- Set the dimension of the Revive Adserver banner to match the dimensions of the Google AdSense tag you created. You must set a size in order to properly link the banner to a zone of the same size.
- This is an example of what the settings for the new banner might look like:
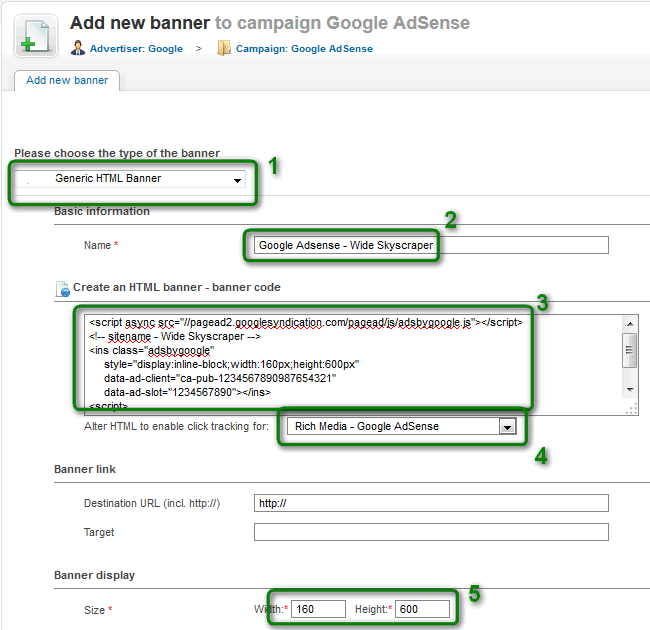
- Save the new banner by clicking the Save Changes button.
- Repeat the process for any other ad sizes you might need.


0 Comments